
Let's learn some observation skills!
Click on the links below to learn:
How to observe a rock...
How to describe a rock...
A rock gives you many clues to its history. In this chapter, we want you to develop your detective-like skills of observation. Encourage your students to look for the most important clues that will help you answer "what is this rock?"
Your challenge: To tell the stories the rock tells
Story 1: How did the rock get where it is?
Story 2: What kind of bedrock did the rock get eroded from?
Story 3: Where is the rock on its journey of the rock cycle?Reminder: virtually every piece of rock your students hand you is a piece of sediment that came from bedrock. The purpose of this chapter is for you to observe the clues that will help you tell Story 1 and Story 2. If you can tell Story 2 you can tell Story 3.
(If it is just too frustrating to first learn about observation and then learn the rock types...and you just have to know what sedimentary, metamorphic and igneous rocks are... it's Okay to skip forward to Chapter Four, read about the rock types, and come back to this one. But for those of you who can stand the suspense, we encourage you to learn to observe before you attempt to interpret what you are observing.)One part of good science is good observation. Another part is interpretation. This chapter is meant to coach you on how to encourage systematic observation: How to observe with a purpose. Chapters Three through Five will coach you on how to interpret what you see: How you take the clues and tell the stories.
Rocks are all around us even in urban Salt Lake County. Cemeteries are great places to find beautifully displayed, diverse rock types. Virtually every school in Salt Lake County has examples of sedimentary, metamorphic and igneous rocks nearby in a cemetery. The older the cemetery the better. Tombstones make for good teaching moments. Of course, be respectful. NO destructive hammering, or chemical experiments on gravestones.
Observing rocks in the field (even in a cemetery):
When you observe a rock however large or small, make two kinds of observations...
- The coarse picture: 3 to 10 feet from the rock, and
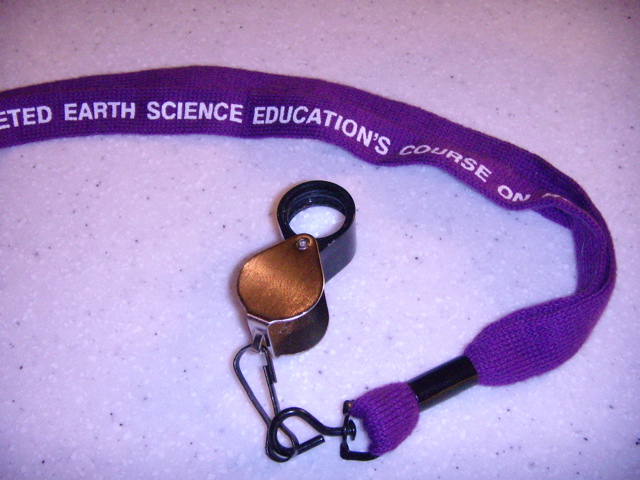
- The fine picture: 1 to 3 inches from the rock preferably with a hand-lens.
To observe the key clues a rock can tell you, you must do both.
- You need to look at patterns that you see from 3 to 10 feet
- You need to look at individual grains and crystals, that you see at 1 to 3 inches or through a hand-lens.
If you are NOT in a cemetery, if you are in the field:
Geologists use rock hammers to break off pieces of rock and give them a "fresh rock face" to examine. The constituent grains and crystals of fresh surfaces are generally easier to distinguish than those of weathered surfaces. The way a rock breaks also tells you about the rock... does it break along a layer or does it break along a crack that crosses the layers at an angle? Is the surface of the broken surface smooth or do you feel the roughness of individual or irregular grains?Caution: rock hammers are dangerous. Flying rock chips can blind. Encourage students to wear safety glasses. Splitting rocks with rock hammers is an impractical classroom activity.